Share This
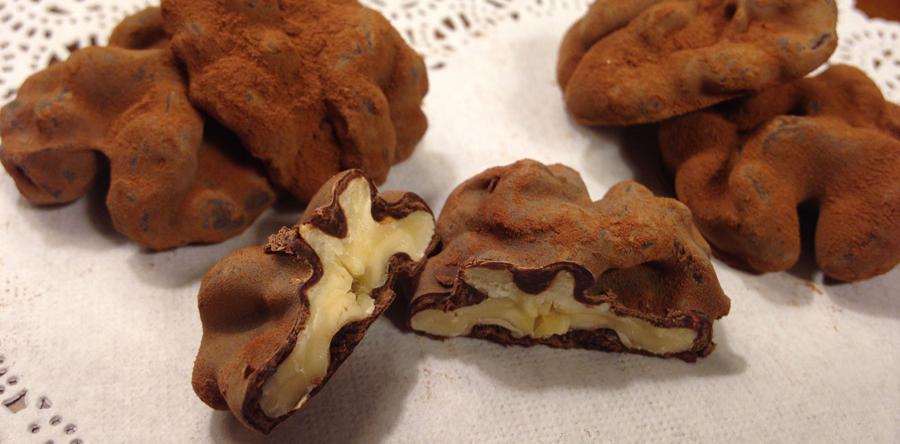
Have you been racking your brain, looking for just the right way to celebrate National Chocolate Covered Nuts Day? Wait – you weren’t even aware that this important holiday takes place every February 25? Now you know, and we have the perfect treat: Walnuts dredged in dark chocolate, with a light dusting of cocoa.
I first came across these little delights last year, on a trip to the Dordogne region of southwest France. Climbing up to the village of Castelnaud, we stopped at the tiny, family-run Ecomusée de la Noix (the Eco-Museum of the Walnut) where we learned about growing and harvesting walnuts, prying them from their shells, and pressing them for their oil. Walnuts are a traditional food staple in this area of France, also known as the Périgord, and this was a good way to learn about the old ways of getting them from farm to table. On the way out, we bought a little packet of chocolate-covered walnuts – Cernaux de Noix enrobé en Chocolat – to nibble in the car.
Oh. My. First, the slightly bitter taste of the cocoa powder hits your tongue. Then, a layer of creamy dark chocolate pulls the taste back from the edge, without becoming too sweet. And finally, the satisfying crunch of a fresh walnut. When we got back home, the memory of those nuts haunted us, and I just had to figure out how to make them at home. It’s surprisingly simple, with impressive results.
Walnuts in Dark Chocolate dusted with Cocoa Powder
12 ounces dark chocolate chips (60% cacao bittersweet is good)
10 ounces walnut halves
1 ounce unsweetened cocoa powder
Instructions
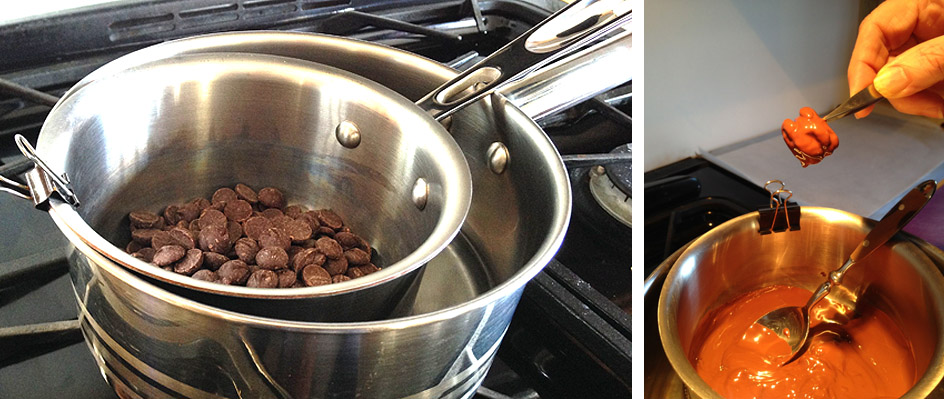
1. Put chocolate chips in the top part of a double boiler, and put water in the bottom part. If you don’t have a double boiler, nest a small saucepan inside a larger one. A binder clip can help keep everything stable. Gently heat chocolate until completely melted. (Yes, it’s possible to melt chocolate in the microwave, too, but chocolate is easily ruined with too much heat, and using a double boiler keeps the chocolate bath cozy-warm while you dip the walnuts.)
2. Spread wax paper, parchment, or a Silpat on a large baking sheet.
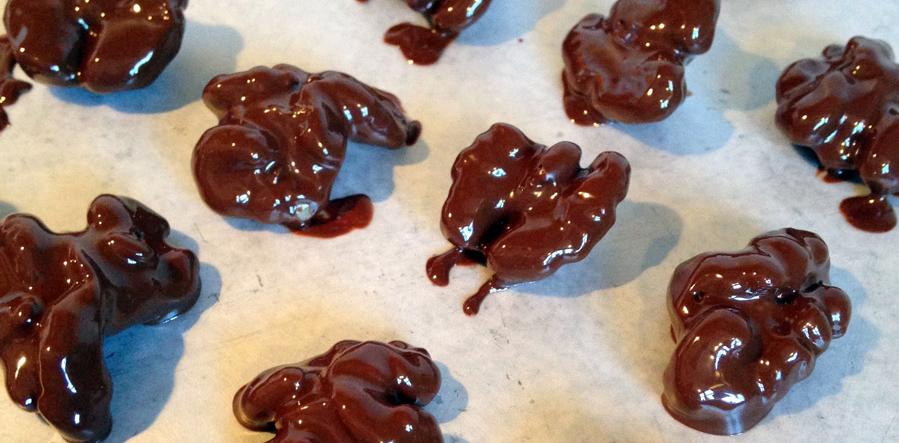
3. When the chocolate has melted, dip the walnuts in it, one by one. Use tweezers to lift each nut kernel out of the chocolate bath, shaking off any excess chocolate. (“Excess chocolate” may sound like an oxymoron – can there ever really be too much chocolate??? – but this step lets the shape of the walnut halves shine through.) Place each nut on the baking sheet to cool. Note: depending on the size of your walnuts, and how thickly you enrobe them, you may need to add more chocolate as you go.
4. Let nuts cool about three hours at room temperature, or about 30 minutes in the refrigerator. You may need to experiment a bit the first time you make this recipe. If you sprinkle the cocoa powder on when the chocolate is still warm, too much sticks, making that first taste too bitter. If you wait too long, the cocoa doesn’t stick at all. Keep trying (and eating your experiments) until the balance tastes right to you.
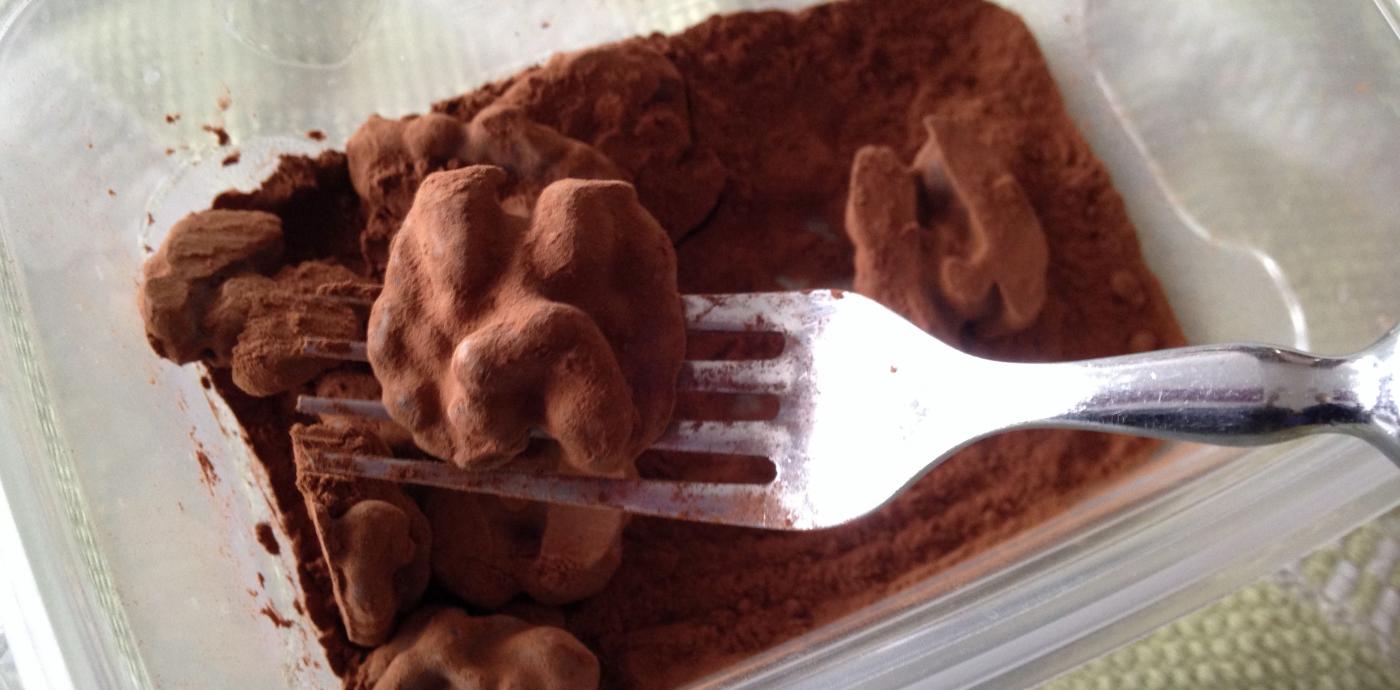
5. Put the cocoa powder in a small leftover container with a lid. Put a half dozen or so walnuts in the cocoa powder at a time, pop the lid on, and shake to get the cocoa into every nook and cranny. Use a fork or slotted spoon to lift out the walnuts and leave any extra cocoa behind.
Voilà! Now you’re celebrating Chocolate Covered Nuts Day in style.
Cynthia Harriman, Director of Food and Nutrition Strategies, Resident Chocolate-Covered Nut Expert


Comments
Add a Comment